Tartalomjegyzék
User's guide
Transport and storage
The packaging is designed to protect the product from the usual physical effects during transport. Be careful to avoid effects other than these.
The packaging of the product is not water, flame and heat resistant and only moderately pressure resistant. Therefore, do not store the package in a humid environment, within the scope of heat-emitting equipment, or place heavy objects on it.
Commissioning
The package consists of a box containing the device and its accessories.
Unpacking

- Open the box.
- Remove the product.
- Remove the retaining insert to protect the device.
- Remove the accessories.
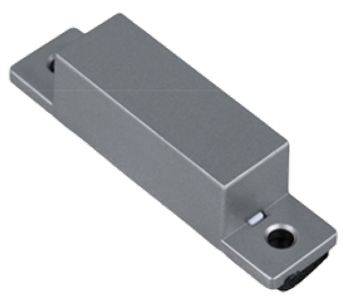
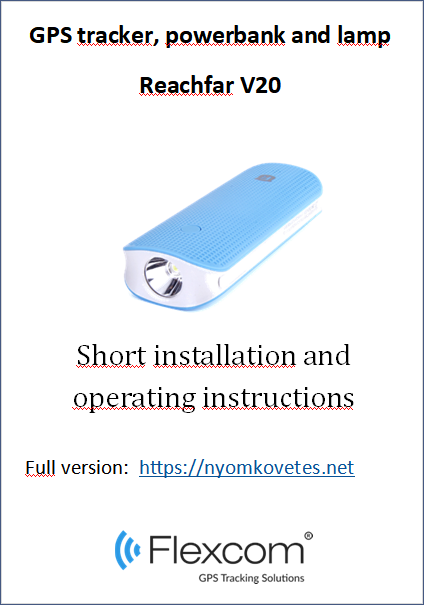
| 1 tracking device | 1 wall mount | 1 USB charging cable | 1 magnet | 1 velcro | 1 installation instructions |
 |
 |
 |
 |
 |
 |
Preparing the SIM card
As with mobile phones, a SIM card is required to operate the device. The device communicates with the mobile service provider's network via SIM card, SMS or mobile phone or PC applications.
You can purchase the card independently from your mobile service provider or, in the case of a software subscription, from your product distributor. If you received the SIM card from your dealer, you do not need to make any settings: the card is already set up, inserted in the device, switched on and ready for use.
If you have received the SIM card from your dealer, do not try to transfer it to another device (eg phone) and use it! The distributor (service provider) will reimburse the resulting costs or the correction of the resulting errors.
Settings for your SIM card
If you did not obtain the SIM card from your tracking device vendor, you must set it up before inserting and using it in the device, which you can do as follows.
Disable SIM card PIN and other functions
- Insert the SIM card in your phone.
- Among the setting functions of the phone
- turn off the PIN code request, auto-reply and call forwarding options.
After turning off the above, insert the card into the tracking device. See the next section for instructions on how to insert the SIM card.
Setting up data traffic
If you want to operate the device not only via SMS, but also e.g. If you use the software tracking service provided by your dealer, you must activate GPRS (Internet) data traffic and use the appropriate network settings if you use your own SIM card. To do this, you must send SMS messages from your phone to the phone number of the SIM card inserted in the tracking device, as shown in the table below.
Before sending the instructions in the table below from your phone to the phone number of the device's SIM card, set the administrator's phone number on the device in a preliminary SMS.
Send an SMS from your phone to the phone number of the device with the following content: password,sos1,phone-number#
Example: 123456,sos1,06209876543
All other commands sent via SMS will only be received and executed. Always use lowercase letters in SMS messages and do not leave spaces anywhere!
| Setting | SMS | Device response |
|---|---|---|
| Setting APN | apn,apn-name,user,<username>,pd,<password># | Ok |
| APN names for domestic service providers:
Telenor: online or net Telekom: internet Vodafone: - in case of subscription: internet.vodafone.net - in the case of a top-up card: vitamax.internet.vodafone.net Digi: internet |
||
| username: the APN username provided by the service provider. If not, it should be omitted. | ||
| password: APN password provided by the service provider. If not, it should be omitted. |
Inserting the SIM card
Only micro-sized SIM cards can be used with this product. If you have a nano SIM, use a card adapter.
Insert the SIM card into the device as follows:
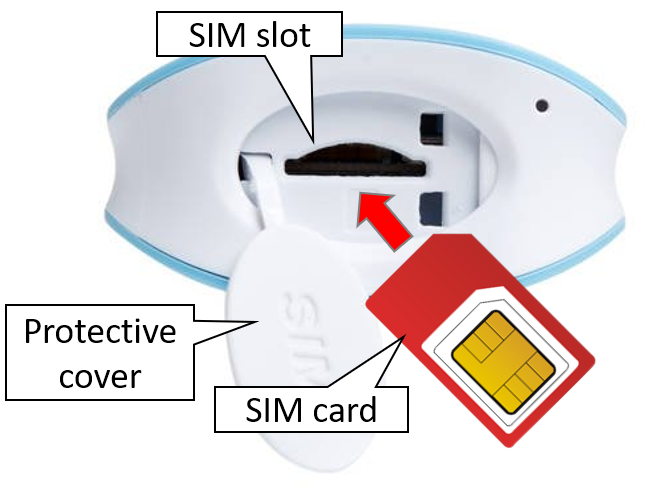
Steps:
- Make sure the appliance is switched off.
- Open the cover of the SIM card slot.
- Insert the card into the slot in the correct position.
- Close the protective cover.
Charging the battery
The device has a built-in battery that can be charged via the USB port. Your phone charger is suitable for charging, but you can also use the USB connection of a computer or energy bank.
The corresponding USB charging cable is supplied with the device by the manufacturer. This is connected to the device via a MICRO USB connector - if you do not use the factory cable, make sure that it is type-compliant!

The charge level is indicated by a four-member LED indicator.
Charge the device for at least 8 hours before using it for the first time!
When the battery is fully charged (all four LEDs are lit), disconnect the charging cable. The device does NOT have overcharge protection, so prolonged or continuous charging will shorten the life of the device or, in worse cases, damage it.
Use a charger that supplies 2 A to the device at a voltage of 5 V. Chargers with a higher capacity can damage the battery.
It is recommended to fully discharge the battery every 3 months and then recharge it! Do not use the device while charging, this applies especially to the energy bank function!
Application installation, access
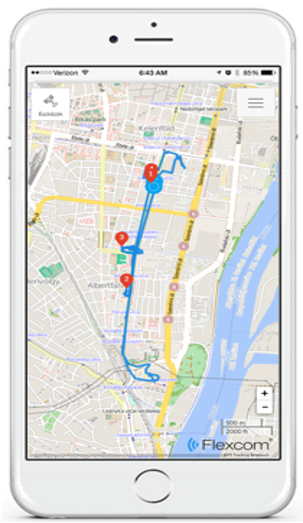
In order to operate the device and other services based on it, the distributor provides mobile and computer applications in the subscription system. The PC program is accessible via a browser at https://gpspositions.net/map/, and you can install the phone application on your phone in one of the following ways:
For Android phones

- Open the Google Play app on your phone.
- Search for “Flexcom” or “Flexcom tracking” on Google Play.
- Install the tracking application.
or
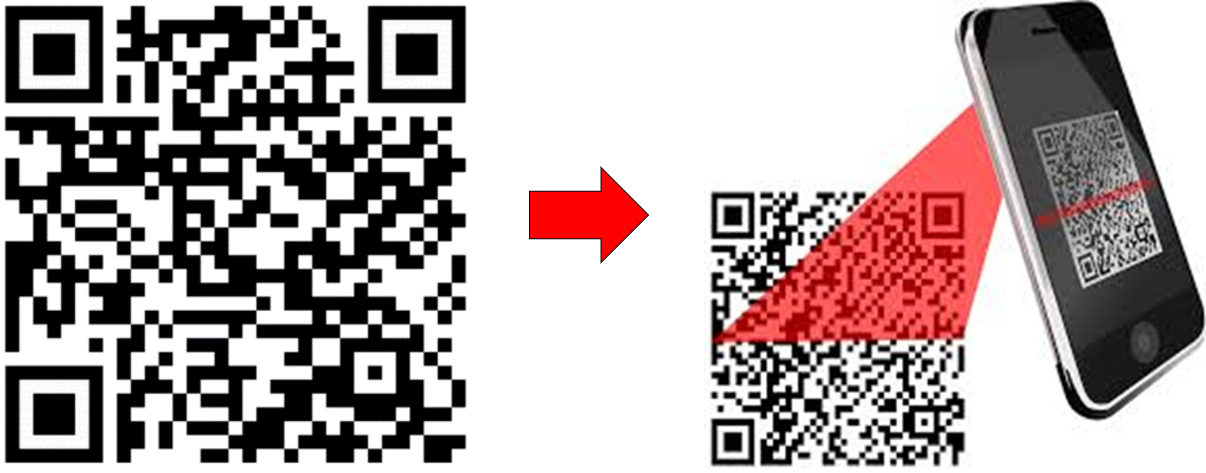
- Scan the QR code shown here with your phone.
- Open the web address decoded from this.
- Install the Flexcom tracking application.
For iPhones
Use the browser on your phone to access the service (https://gpspositions.net/map/).
Using the product
User Interface
The connectors and controls of the device are located at both ends, under a protective cover, and on one side of the microphone.
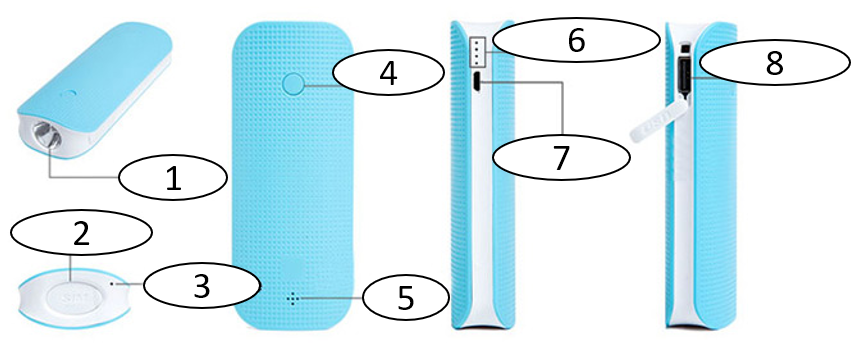
(1) Lamp
(2) SIM slot
(3) Microphon
(4) On / off switch button
(5) Speaker
(6) Battery level display
(7) Micro USB (for input charging)
(8) USB output (for outgoing charging)
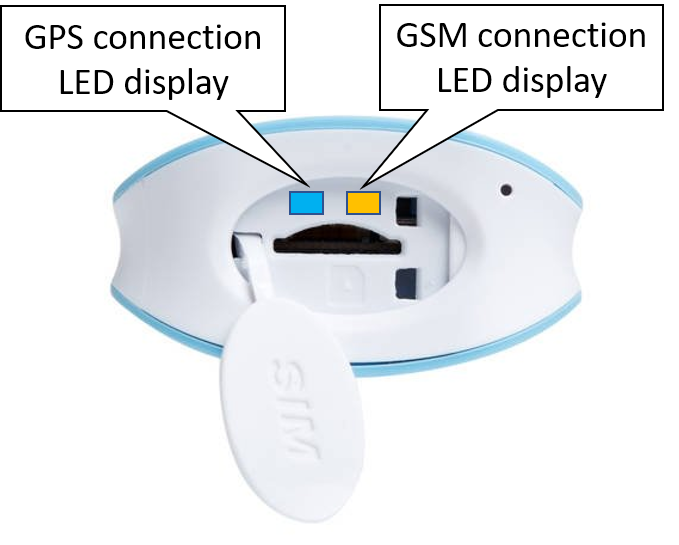
Status of LED displays showing GPS / GSM connections
LED indicators showing the status of network connections are located next to the SIM card slot, under the protective cover.
| Color | Function | Slow flashing | Quick flashing | Not lit |
|---|---|---|---|---|
| Blue | GPS connection | Searching | Successful | No |
| Yellow | GSM connection | Searching | Successful | No |
Turning on and off
You can switch the device on and off with the power key.

Turning on
- If it is not already inside, insert the SIM card in the device.
- Press and hold the button for approx. 3-5 seconds.
- The device beeps successfully with three beeps.
Turning off
- Press and hold the button for approx. 3-5 seconds.
- The blue and yellow LEDs light up, then approx. They go out after 15 seconds - the device is switched off.
Operating time
The device works continuously after switching on. Its operating time depends on the usage mode and related settings:
- With GSM network connection on and position transmission interval of 10 minutes, the standby time is 30 days and the communication time is 60-80 hours.
- If the GSM network is switched off (eg if the device is used only as an energy bank), the standby time increases to 3 months.
Operating modes
The device can be operated in the following ways:
- energy bank,
- alarm (eg movement, door opening detection), tracking or
- lamp
|
Powerbank
The device can be used as an energy bank to charge other devices (eg mobile phones). Plug the included USB cable into the power bank output, connect the devices to be charged to the appropriate cable ends.
It is not necessary to switch on the device to charge other devices. The power bank function is only used when the device battery is sufficiently charged. If only one of the charge level LEDs is lit, charge the battery before use.
|
|
Alarms
Different alarm functions can be set on the device for different types of events. When the event occurs, the device sends an SMS message to the administrator's phone number, or you can also sound beeps on your speaker. Beep The operation of the beeps can be switched on or off with the following SMS commands: Turning on
Turning off
You can set the alarm delay with the following SMS command: ntim,x# where x is the delay time in seconds. Magnetic detection The device can also be used to detect the opening of a door (or any door and window) using the included wall mount and magnet.
To activate or deactivate the magnetic opening detection mode, the following SMS commands must be sent to the device: Turning on
Turning off
Motion, vibration detection The device can be set to send an alarm to the administrator's phone number in an SMS message when it is moved or vibration is detected. To activate or deactivate the motion / alarm detection mode, the following SMS commands must be sent to the device: Turning on
Turning off
Sound detection The device can also detect sounds and send an alarm. To turn the voice recognition mode on or off, send the following SMS commands to the device: Turning on
Turning off
|
|
Tracking
Position query When the GPRS mode is on, you can query the current position of your device. To do this:
Administrator phone number setting After setting the administrator phone number, the tracking device only accepts SMS commands from this number.
SMS command: password,sos1,phone number# SMS command to delete the phone number set above: reset# Switching LED indicators on and off The LED displays continuously show the network (GSM and GPS) connection status of the device with their light signals. If necessary - e.g. for energy saving reasons) - the operation of the LEDs can be switched on or off. Turning on
Turning off
LED mode is on by default. Restart device remotely If you experience a problem with your device, a restart may resolve it. You can initiate the reboot remotely. Send reboot# via SMS to your device's phone number. Turn off the device remotely You can also switch the device on and off remotely from your phone. Send poff# (power off) via SMS to the phone number of the device. Set SMS language and time zone The language of SMS communication can be Chinese, English or French. This and the valid time zone can be set with the following command. Send lag,x,zone,y (language, timezone) via SMS to the device phone number, where x = 1 (Chinese), 2 (English) or 3 (French) and y = GMT + time offset value (+ or -), in hours. Example: lag,2,zone,+1 English language and the Hungarian time zone. |
|
Lamp
There is a built-in LED headlight at one end of the device. To switch it on or off, briefly press the on / off button on the device once. |


Normal operation of the device
Setting options via the software
When using the desktop or mobile application of Flexcom Kft, the setup operations related to tracing can be accessed in the following ways.
The settings and commands that can be issued depend on the type of device. See the rest of this guide for information on options for this device.
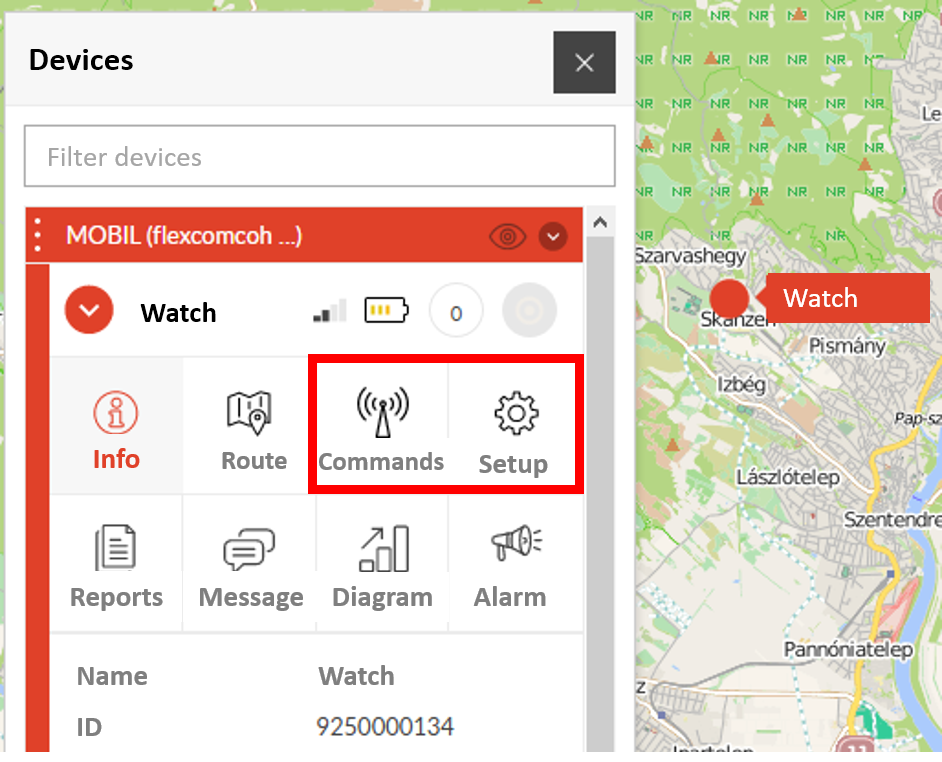
When using a desktop application:
|
Select the desired device on the map or in the menu.
Click the Settings or Commands button to select the general setting or behavior you want. |
 |
When using a mobile application:
| From the application menu, select Map. | 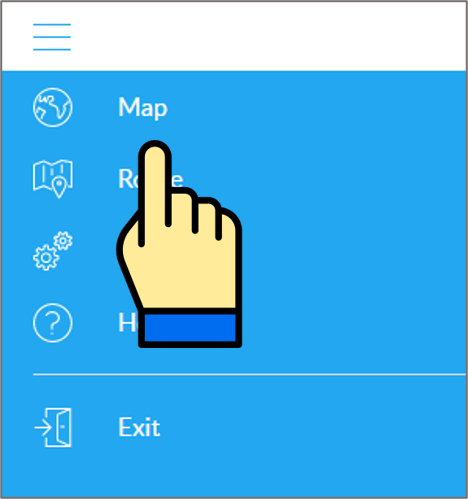
|
| Switch to the Tools panel. | 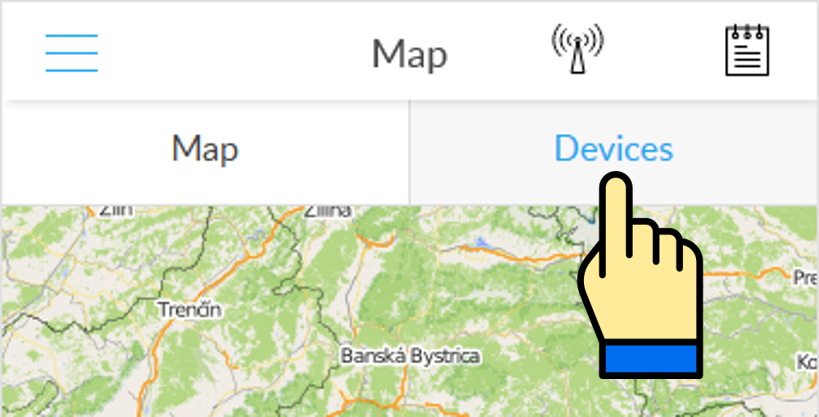
|
| Find your device in the list of devices and tap the Setup icon next to the ID. | 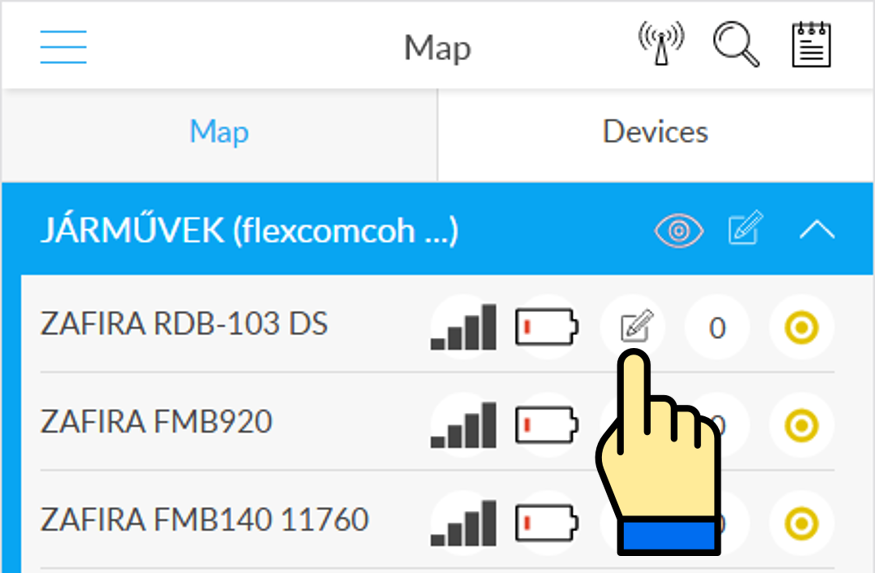
|
| Select the desired setting or, when sending a command, select Commands. | 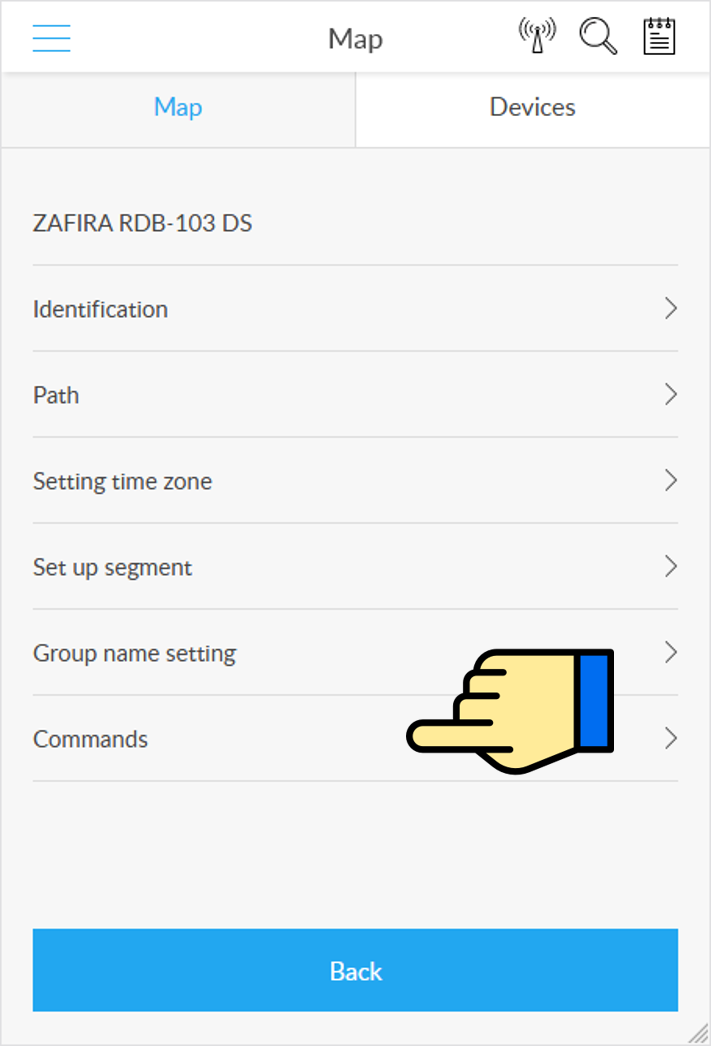
|