Table of Contents
User's guide
Transport and storage
The packaging is designed to protect the product from the usual levels of physical impact during transport. Be careful to avoid effects other than these.
The packaging of the product is not water, flame and heat resistant and only moderately pressure resistant. Therefore, do not keep the box in a humid environment, within the range of heat emitting equipment, or place heavy objects on it.
Commissioning
The package consists of a box containing the device and its accessories.
Unpacking

- Open the box.
- Remove the product.
- Remove the retaining insert to protect the device.
- Remove the accessories below.
 |
1 ICAR IK101A tracking smart watch |
 |
1 USB charging cable |
 |
1 installation instructions |
Preparing the SIM card
As with mobile phones, a SIM card is required to operate the device. The device communicates with the mobile service provider's network via SIM card, SMS or mobile phone or PC applications.
You can purchase the card independently from your mobile service provider or, in the case of a software subscription, from your product distributor. If you received the SIM card from your dealer, you do not need to make any settings: the card is already set up, inserted in the device, switched on and ready for use.
If you have received the SIM card from your dealer, do not try to transfer it to another device (eg phone) and use it! The distributor (service provider) will reimburse the resulting costs or the correction of the resulting errors.
Settings for your SIM card
If you did not obtain the SIM card from your tracking device vendor, you must set it up before inserting and using it in the device, which you can do as follows.
Disable SIM card PIN and other functions
- Insert the SIM card in your phone.
- Among the setting functions of the phone
- turn off the PIN code request, auto-reply and call forwarding options.
After turning off the above, insert the card into the tracking device. See the next section for instructions on how to insert the SIM card.
Setting up data traffic
If you want to operate the device not only via SMS, but also e.g. If you use the software tracking service provided by your dealer, you must activate GPRS (Internet) data traffic and enter the appropriate network settings. To do this, you need to send SMS messages from your phone to the phone number of the SIM card inserted in the tracking device, as shown in the table below.
The factory-set access password for the tracking device in the commands: 123456
| Setting | SMS message | Device response |
|---|---|---|
| Enter the APN name | pw,123456,apn,apn-name,apn-username,apn-password,MCC/MNC code# | apn ok |
| APN names for domestic service providers:
In case of problems, check the exact settings with your mobile service provider!
Telenor: online or net
Telekom: internet
Vodafone:
Digi: internet |
||
| If your mobile network provider has not provided you with an APN username and password, you do not need to send the following SMS messages to the tracking device.! | ||
| APN username | apnuser123456(space)APN-username | apnuser ok |
| APN password | apnpasswd123456(space)APN-password | apnpasswd ok |
Inserting the SIM card
Only micro-sized SIM cards can be used with this product.
Insert the SIM card into the device as follows:

Steps:
- Unscrew the protective cover.
- Insert the card into the slot on the left side of the watch, chip up, in the direction of the buttons.
- Screw the protective cover back on.
Charging the battery
The watch is powered by a built-in battery, which needs to be charged at different intervals depending on the intensity of use. The magnetic charging cable connector is located on the back of the device. The correct connection of the cable is facilitated by the attraction / repulsion of the magnet.


During charging, the LED on the front of the watch flashes red every 1 second; when the battery is fully charged, the blinking turns solid green. The charging time is approx. 3 hours.
If the LED display flashes red every 5 seconds, the battery is running low and needs to be charged.
A charger with a maximum current of 1 A may be used for the clock with a voltage of 5V! Chargers with a higher capacity can damage the battery.
Application installation, access
In order to operate the device and other services based on it, the distributor provides mobile and computer applications in the subscription system. The PC program is accessible via a browser at https://gpspositions.net/map/, and you can install the phone application on your phone in one of the following ways:
For Android phones
![]()
- Open the Google Play app on your phone.
- Search for “Flexcom” or “Flexcom tracking” on Google Play.
- Install the tracking application.
or
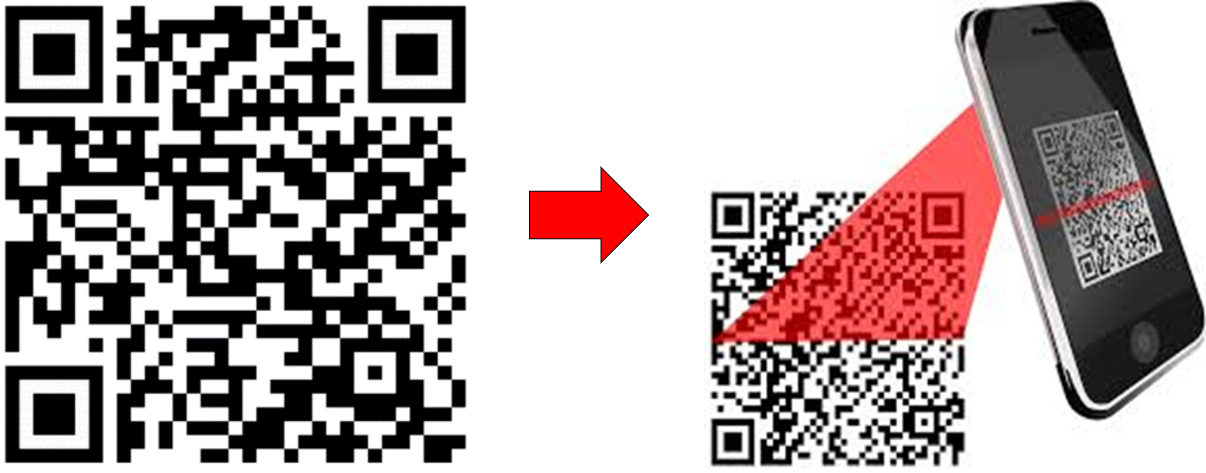
- Scan the QR code shown here with your phone.
- Open the web address decoded from this.
- Install the Flexcom tracking application.
For iPhones
Use the browser on your phone to access the service (https://gpspositions.net/map/).

Use of the product
User interface
The connectors and controls of the device are located at both ends, under a protective cover, and on one side of the microphone.

SOS button (red)
The SOS button has several functions:
- Turn on the clock
- Start a help request, end a conversation
- Start blood pressure and heart rate measurement
Talk button (green)
The button is used to operate functions related to voice recordings (15 seconds) and conversations.
LED
Green or red indicators related to the status and operation of the device.
Red:
- Flashes 1 every 5 seconds: low battery (<20%)
- Flashes 1 per 1 second: during charging.
Green:
- Flashes for 5 seconds: incoming call indication.
- steady light: reached the charge level when charging.
The red and green lights flash alternately during heart rate and blood pressure measurements. When the measurement is complete, if it was successful, green, if it failed, the red light will illuminate for 3 seconds.
Heart rate and blood pressure sensor
Sensor for measuring heart rate and blood pressure.
Charger connector
Magnetic connector for the battery charging cable provided by the manufacturer.
Be careful not to accidentally press the buttons while using or storing the watch, as this may cause unintentional or malfunctioning.
Switching on and off
The clock can be switched on or off using the SOS button. Hold down the button until the clock beeps.

Successful switching on or off is confirmed by the clock sounding ascending or descending.
Switching off with the SOS key is only possible if no SOS phone numbers have been set up yet (see chapter SMS messages). If they are already present, pressing and holding the button will result in an SOS call to the specified number or numbers, and can be switched off from the application by sending a switch-off command.
Control the device with buttons
The basic function of the device is monitoring. Related operations can be activated by pressing the red and green buttons for different durations and densities.
| Operation | Implementation |
|---|---|
| Send SOS alert | The SOS button is pressed for approx. After pressing and holding for 3 seconds, the device will start dialing the previously entered numbers in sequence and, depending on the setting, will also send an SMS message. If a call fails, it continues with the next one until it is successful or you have tried all the numbers twice. |
| Heart rate and blood pressure measurement | By pressing the SOS button three times, the watch measures blood pressure and heart rate and sends the results to the central system, from where the measured value can be read using the application. |
| Time | When the red SOS button is pressed once, the clock announces the exact time. |
| Call the watch from phone | You can call and talk to the phone number of the watch's SIM card from a central number. However, only SOS calls can be made from the watch. |
| Hívás fogadása | Ha az órát telefonról hívják, a zöld gomb egyszeri megnyomásával fogadható a hívás. |
| Interrupt conversation | Press the SOS button once to end the ongoing conversation. |
The clock settings and functions can be set or activated via the central system via the Internet or by sending messages to the device's SIM card. Messages can be sent to the device using desktop or mobile phone software.
The software is provided by the distributor of the device (Flexcom Kft) in a subscription system. The software expands the clock tracking service with map position and real-time or backward route display, as well as advanced data delivery capabilities.
For detailed information, please visit https://nyomkovetes.net.
The device can be operated with other compatible software - in this case, instead of the information described in this chapter, the information provided by the manufacturer / operator for that software applies.
Normal operation of the device
Setting options via software
When using the desktop or mobile application of Flexcom Kft, the setup operations related to tracing can be accessed in the following ways.
The settings and commands that can be issued depend on the type of device. See the rest of this guide for information on options for this device.
When using a desktop application:
|
Select the desired device on the map or in the menu.
Click the Settings or Commands button to select the general setting or behavior you want. |
 |
When using a mobile application:
| From the application menu, select Map. | 
|
| Switch to the Tools panel. | 
|
| Find your device in the list of devices and tap the Setup icon next to the ID. | 
|
| Select the desired setting or, when sending a command, select Commands. | 
|
Tracking easily and efficiently


